Essential - Responsive Minimal One Page WordPress Theme
Documentation
- Creation Date: 27/04/2017
- Last Update: 23/10/2019
- Author: RavenBlueThemes
General
General
We would like to thank you for purchasing Essential! We are very pleased that you have chosen Essential for your website, you will not be disappointed! Before you get started, please be sure to always search our Documentation to help you get started.
WordPress Information
To install this theme you must have a working version of WordPress already installed. If you need help installing WordPress, follow the instructions in WordPress Codex. Below are all the useful links for WordPress information.
-
– General info about WordPress and how to install on your server.
-
– General info about multiple topics about WordPress.
-
– The most popular FAQ’s regarding WordPress.
Requirements For Essential
To use Essential, please make sure you are running WordPress 4.6 or higher, PHP 5.6 or higher, and MySQL 5.6 or higher. We have tested it with Mac, Windows and Linux. Below is a list of items you should ensure your host can comply with.
-
Check to ensure that your web host has the minimum requirements to run WordPress.
-
Always make sure they are running the latest version of WordPress.
-
-
Always create secure passwords for FTP and Database.
Hosting is more secure when PHP applications, like WordPress, are run using your account’s username instead of the server’s default shared username (www or www-data). The most common way for hosting companies to do this is using suPHP. Just ask your potential host if they run suPHP or something similar.
Recommended PHP Configuration Limits
Many issues that you may run into such as; white screen, demo content fails when importing, empty page content with Fusion Builder and other similar issues are all related to low PHP configuration limits. The solution is to increase the PHP limits. You can do this on your own, or contact your web host and ask them to increase those limits to a minimum as follows:
-
max_execution_time 300
-
memory_limit 128M
-
post_max_size 32M
-
upload_max_filesize 32M
How To Verify Your Current PHP Limits
You can check your PHP configuration limits by installing a simple plugin found here. In addition, you can always contact your host and ask them what the current settings are and have them adjust them if needed. Please note though that many hosts will try to keep the PHP limits low without reason. However you are paying for it, and therefore should be getting your money’s worth.
Installation
Installation
You can install the theme in two ways: through WordPress, or via FTP. The essential.zip file is the Installable WordPress Theme and what you need to use to get the theme installed. There are two ways to install Essential, via WordPress or via FTP. But first, you need to download the Essential files from your ThemeForest account. Navigate to your downloads tab on ThemeForest and find Essential.
Downloading Files Gives You All The Content Listed Below:
-
Essential Theme Folder– Contains the essential.zip and essential-child-theme.zip WordPress Theme. The child theme is only for users who make code changes.
-
Licensing Folder
-
Documentation file
The essential.zip is the parent WordPress Theme, install this via WordPress. If you install it via FTP then unzip it first, then use the extracted folder.
How To Install Essential via WordPress
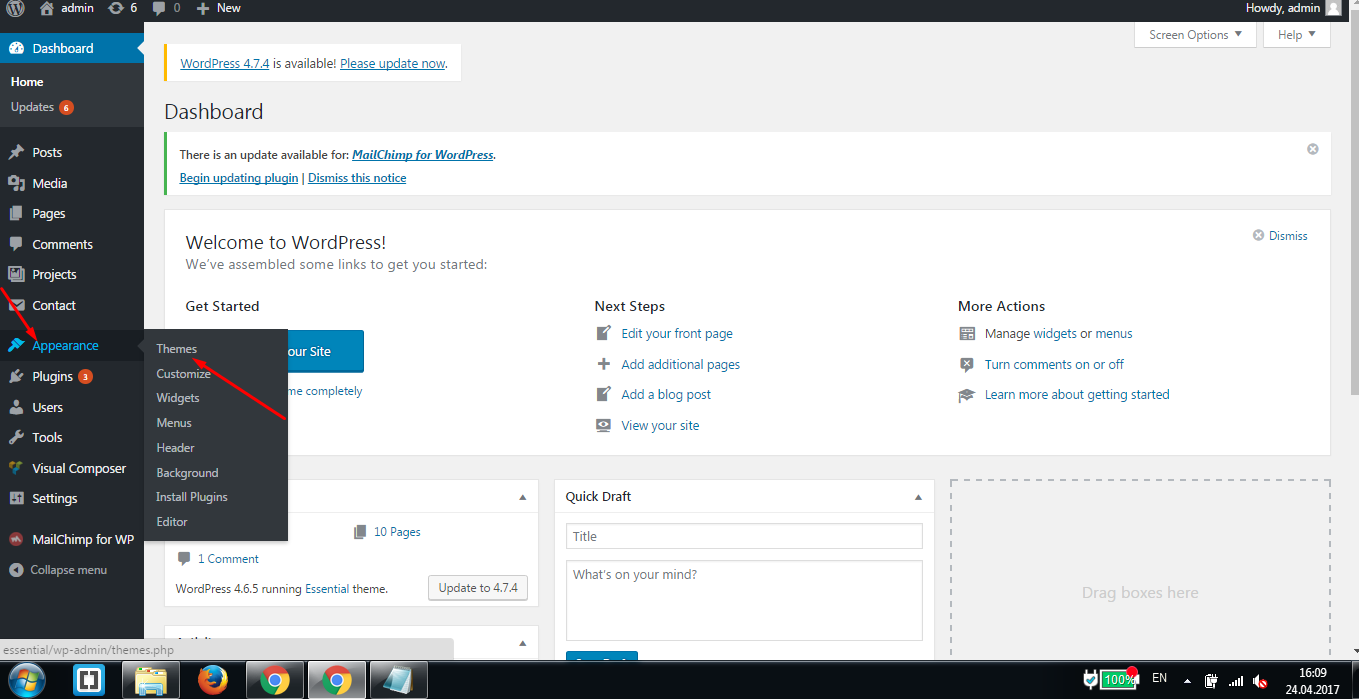
Step 1– Navigate to WordPress Dashboard > Appearance > Themes:
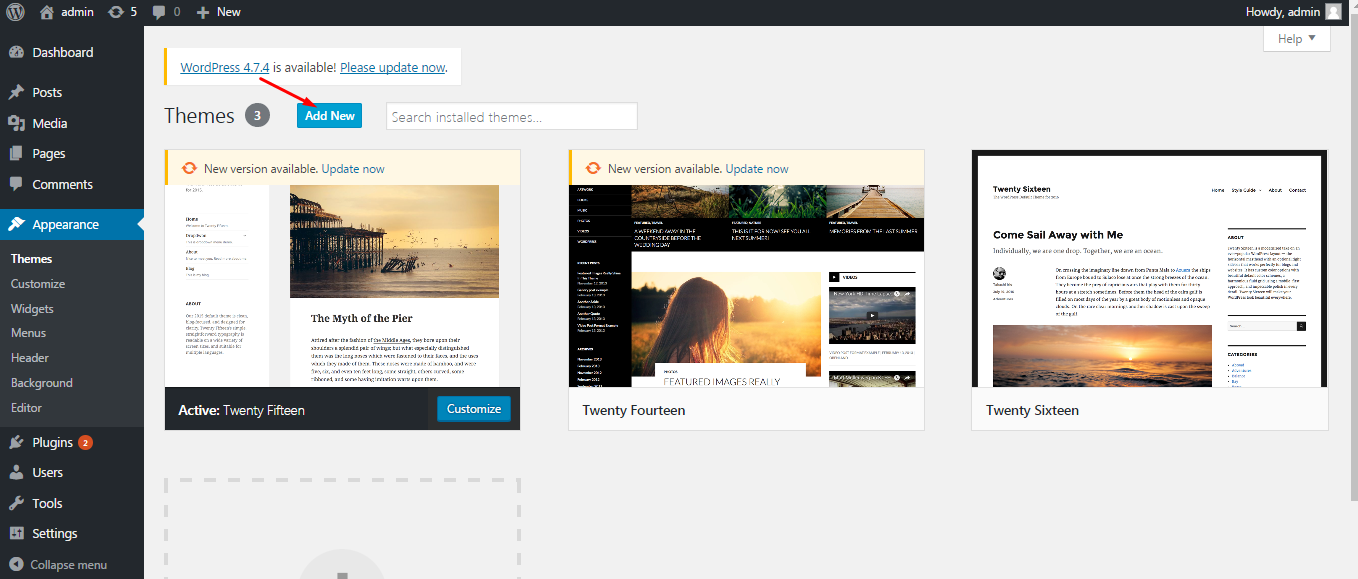
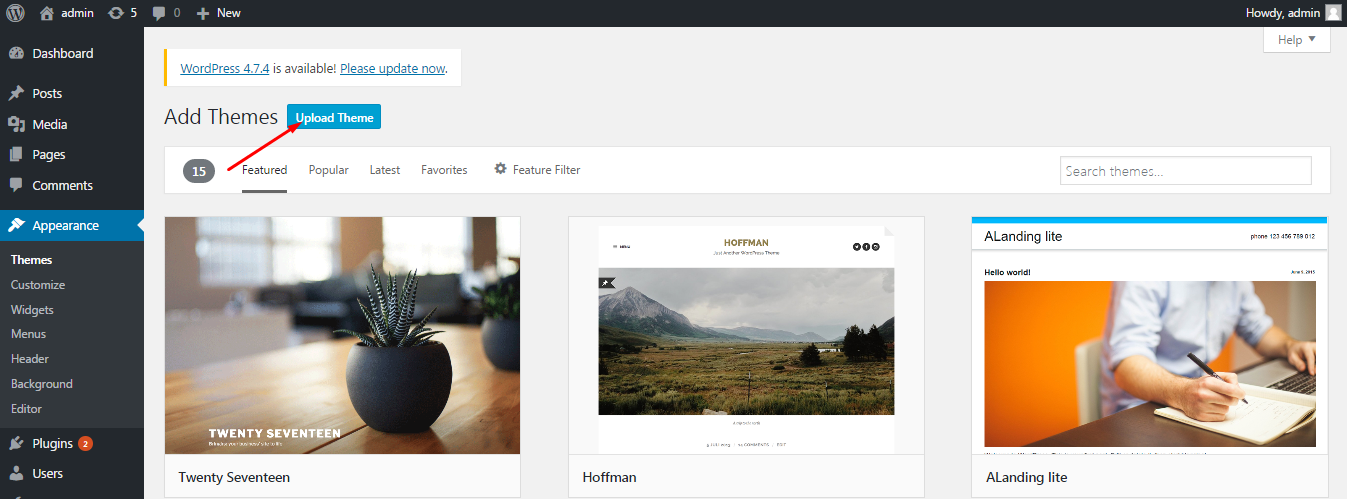
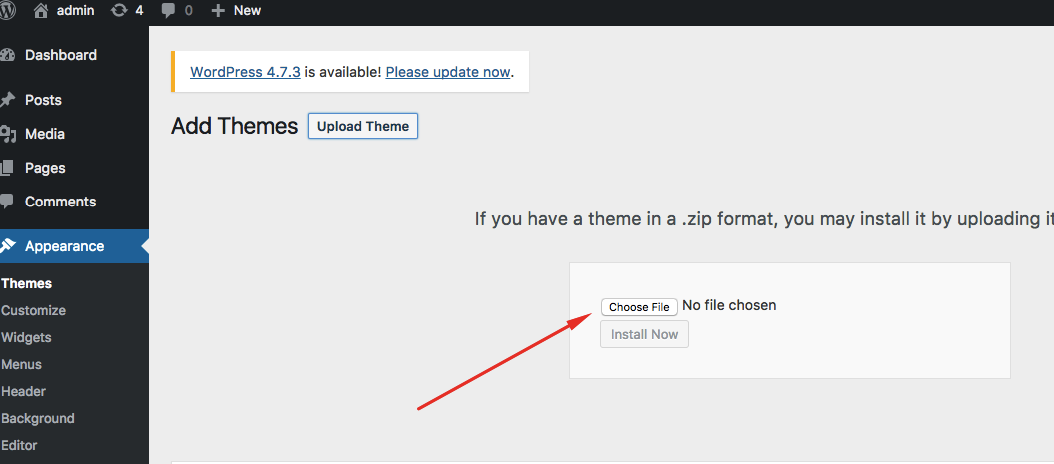
Step 2– Click the ‘Add New’ button on top of the page, then the ‘Upload Theme’ button:
Step 3 – Click ‘Choose File’ and find the theme files you’ve just downloaded.
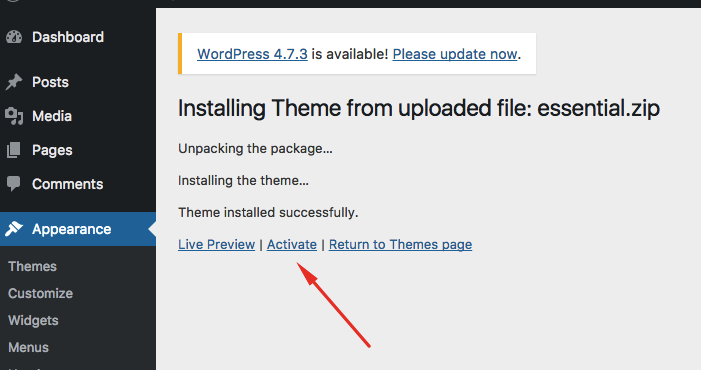
Step 4 – Once the file has uploaded, to activate Essential go to WordPress Dashboard > Appearance > Themes and click the Activate button.
How To Install Essential Via FTP
Step 1– Log into your server installation via FTP. You can use software such as Filezilla for this.
Step 2– Upload the extracted Essential folder to the _wp-content > themes _folder on the server. Make sure the folder name is -> ‘essential’.
Step 3– Log in to your WordPress Dashboard and navigate to Appearance > Themes and clicking the ‘Activate’ button, for the Essential theme.
How To Install Required Plugins
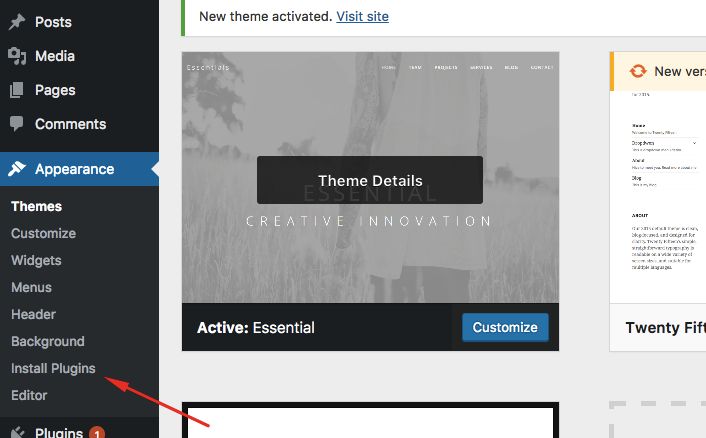
Step 1 – Navigate to WordPress Dashboard > Appearance > Install Plugins.
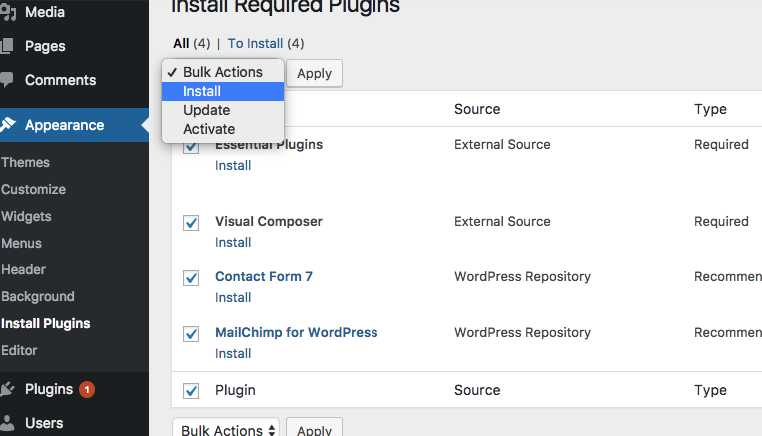
Step 2 – Check all the plugins and from Bulk Actions select Install.
Once the plugins will be installed and activated, it is time to import the demo data.
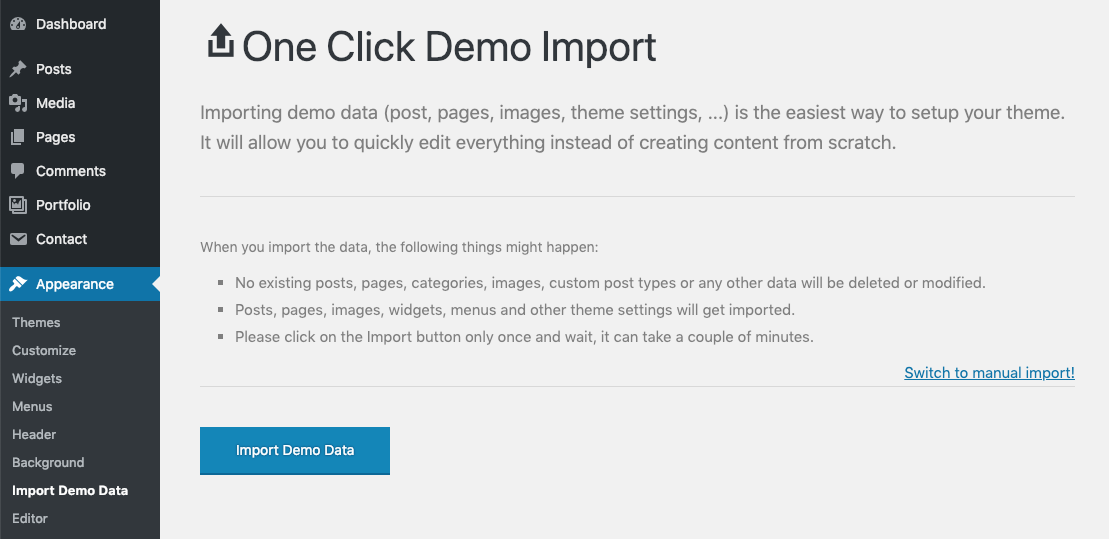
One Click Demo Import
Before running the importer, make sure that you have installed and activated the required and recommended plugins. You will see a message at the top of your dashboard if you have not yet done so.
STEP 1 - Log into your WordPress Dashboard.
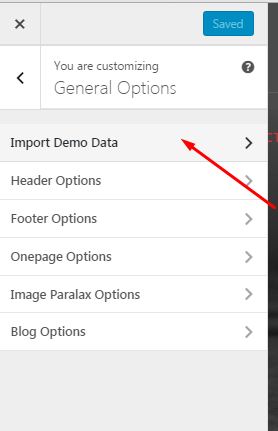
STEP 2 - Go to Appearance > Import Demo Data
STEP 3 - Click the "Import Demo Data" button.
STEP 4 - Be patient and wait for the import process to complete. It can take up to 5-7 minutes.
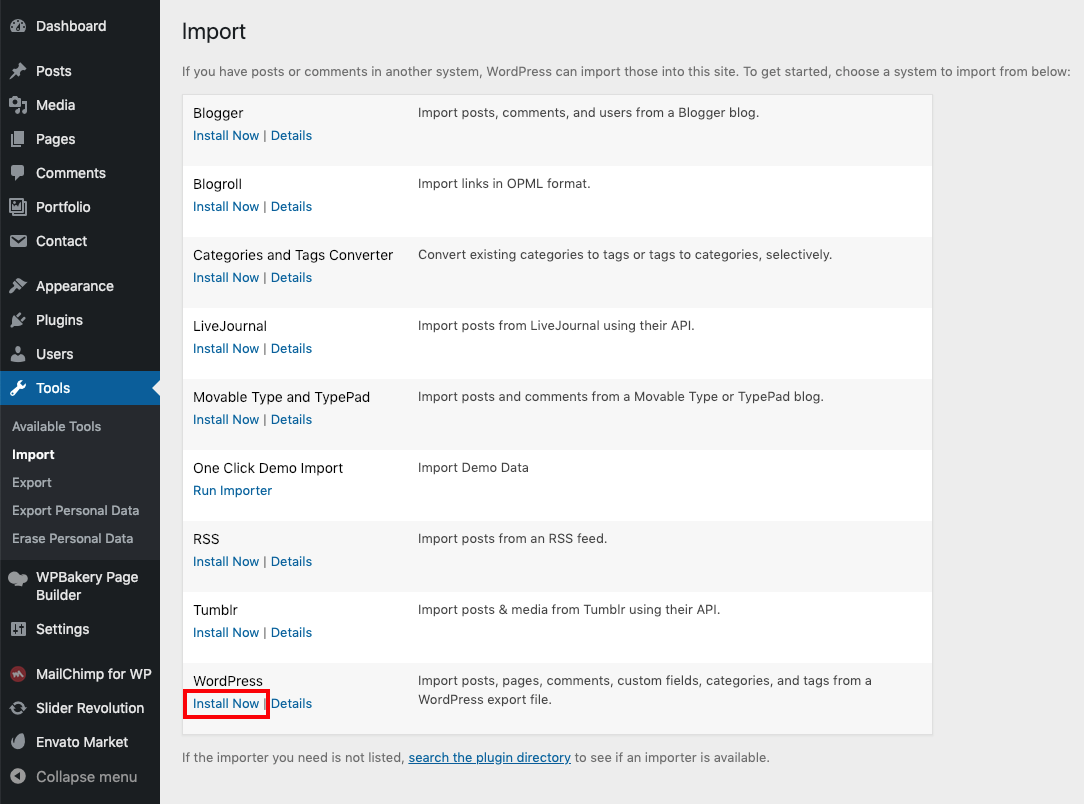
Alternative Importing Method
If the one click demo import does not complete or takes too long, you most likely have a memory limit on your server. Here is another method to try.
STEP 1 - Log into your WordPress Dashboard.
STEP 2 - Go to Tools > Import.
STEP 3 - Click "Install Now" or "Run Importer" (if already installed) button under WordPress (bottom of the list).
STEP 4 - Upload the demo content .xml using the form provided on that page. The .xml file can be found in "inc/demo/content.xml" of the Theme folder. Click "Upload file and import". Do not interrupt/cancel the import process!
STEP 5 - You will be asked to map the authors in this export file to users on the blog. For each author, you may choose to map to an existing user on the blog or to create a new user.
STEP 5 - You will then have the choice to import attachments, so click on the "Download and import file attachments" box.
STEP 5 - If the import does not fully complete, repeat these steps again as many times as necessary until you receive the Success message.
There is the last step – setting up the menu.
Step 1– Go Appearance -> Menus and create your menu:
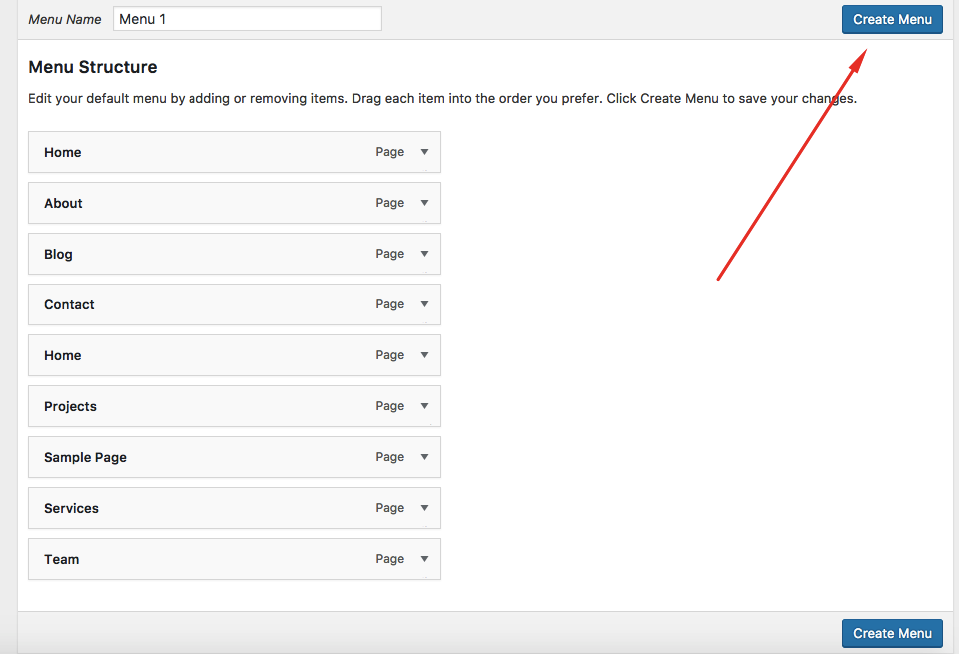
Step 2– Check Primary Menu and Save it.

Now the theme is installed and looks same as on demo.
Theme Settings
After have imported demo content, you can customize the Theme options (colors, typography, logo, header options, footer options, blog options and more) in "Theme Settings". You can add custom CSS and Javascript too.

Shortcodes
Banner shortcode
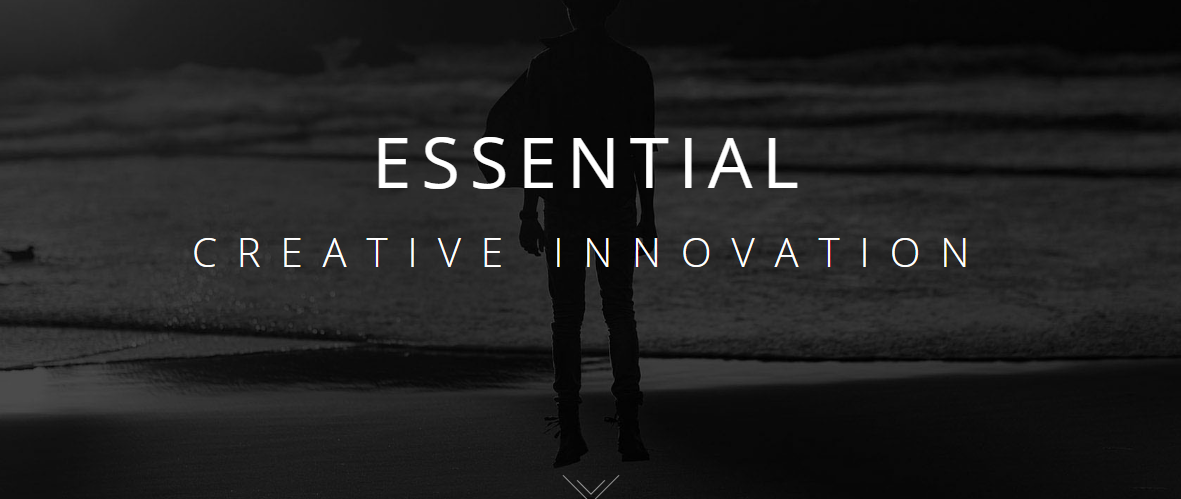
Choose Banner shortcode from the list of elements. In Banner settings fill in Title and Subtitle fields:
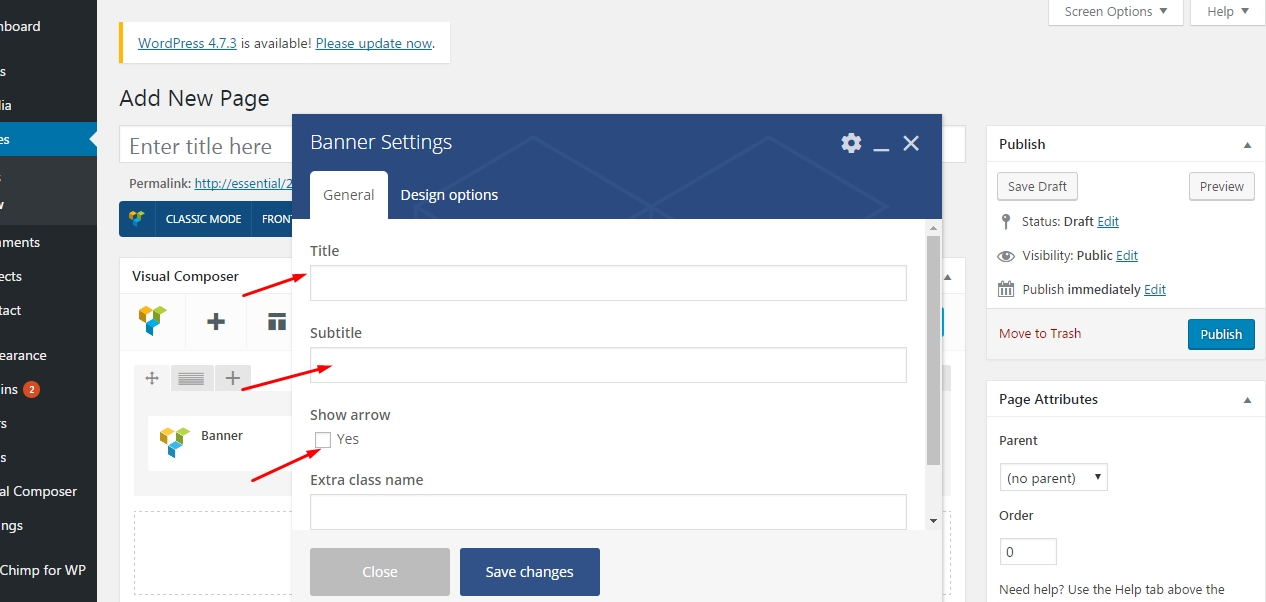
To display an arrow on the banner, check the option "Show arrow":
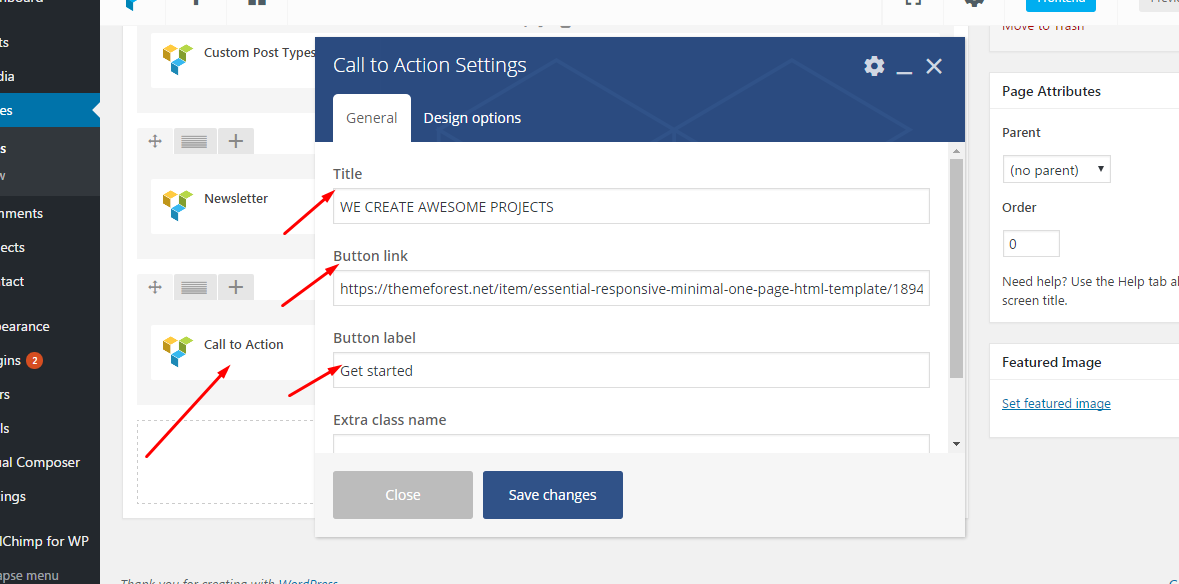
Call to Action shortcode
Here is a sample how the shortcode looks on the page: 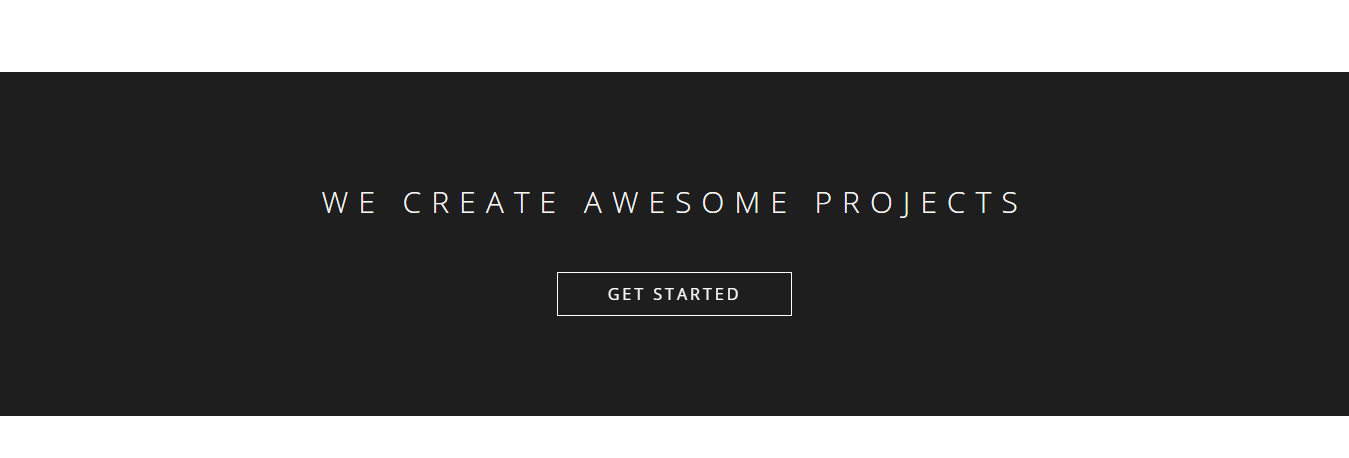
In the shortcode settings the following fields should be filled in: Title, Button link and Label:
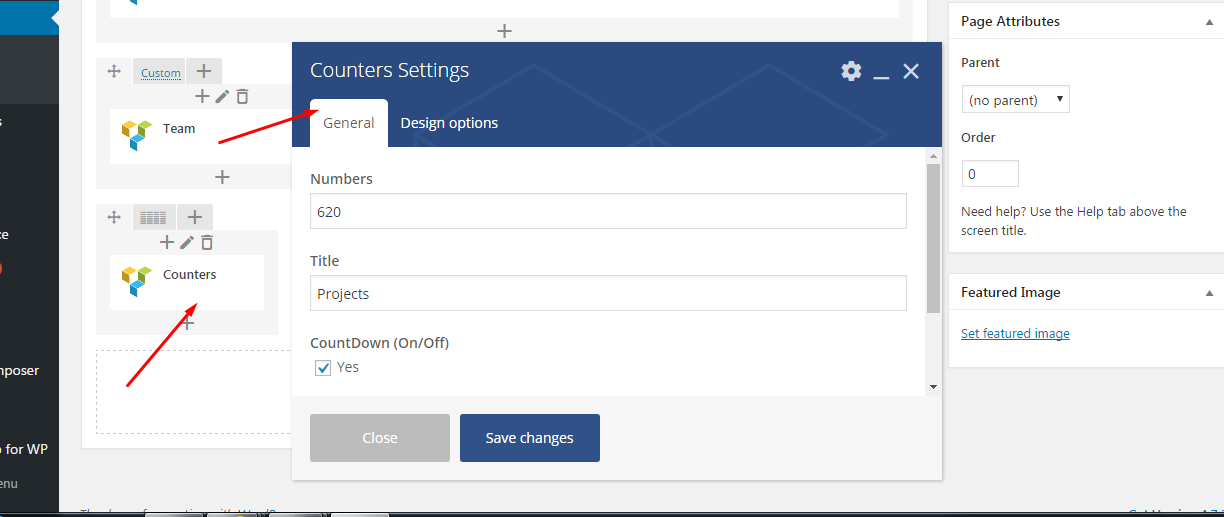
Counters shortcode
Here is a sample how the shortcode looks on the page:
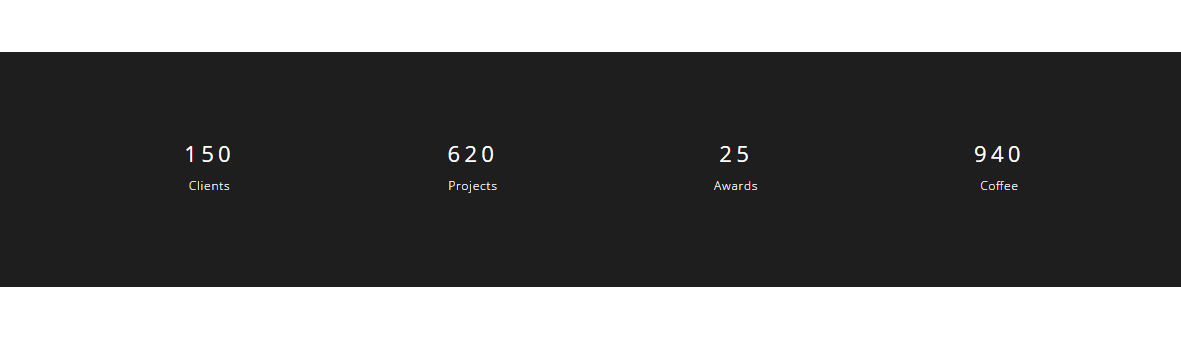 Fill in required fields (Numbers and Title) in Counter settings. If you choose CountDown option, the numbers will be counting automatically:
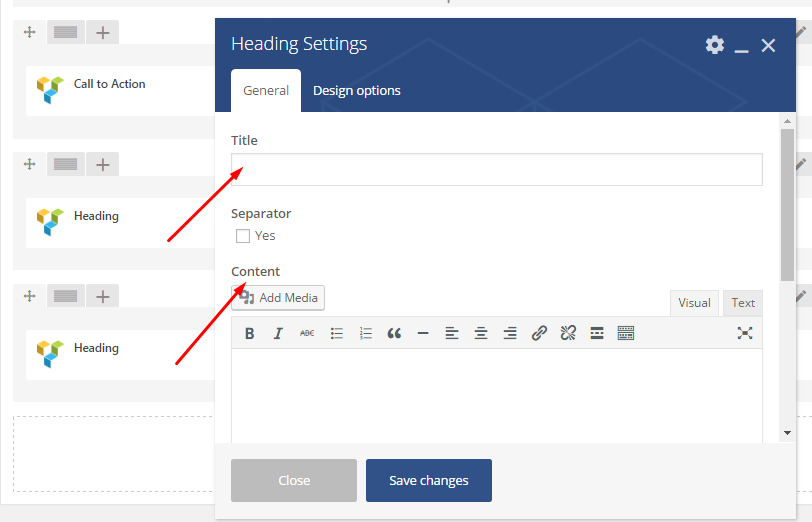
Heading shortcode

In the settings Title and content information should be filled in. If you would like to add dividing line, choose Separator option:
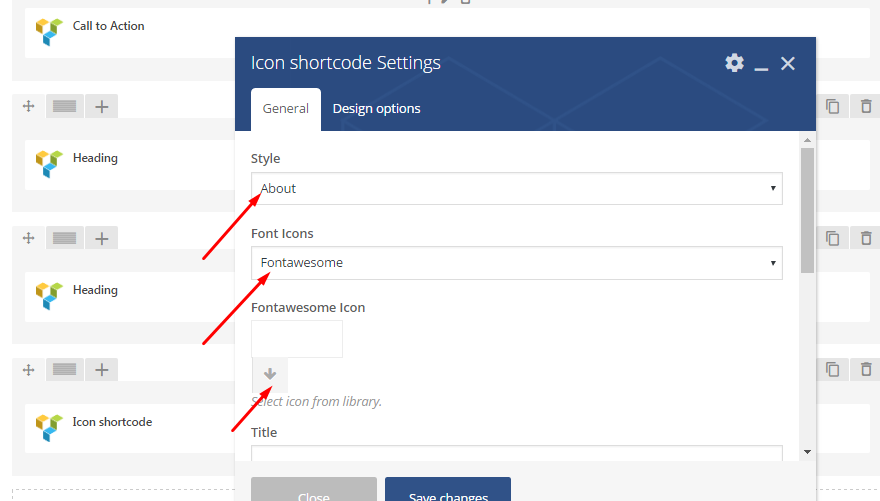
Icon shortcode
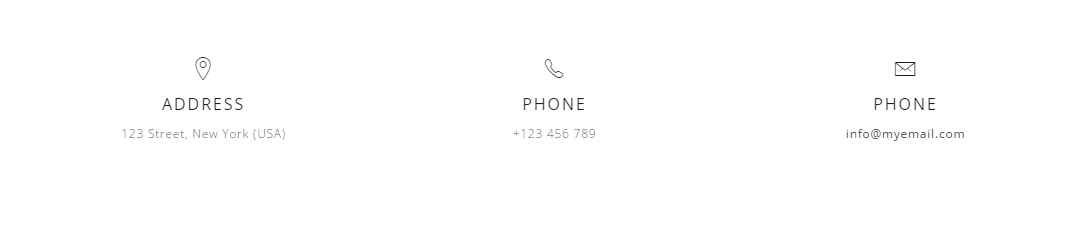
In the setting Style, Font icons and Icons itself should be chosen from the proposed list. You will also have to add Title and Content:
Newsletter shortcode

Fill in Title field and add the form Shortcode: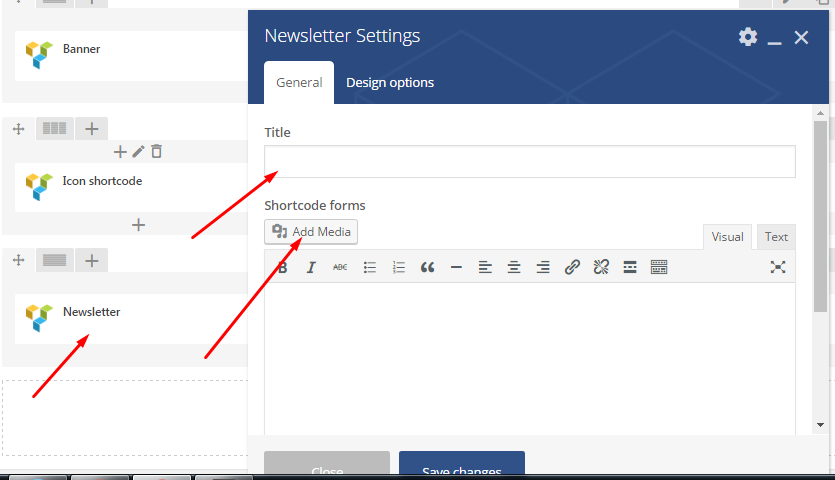
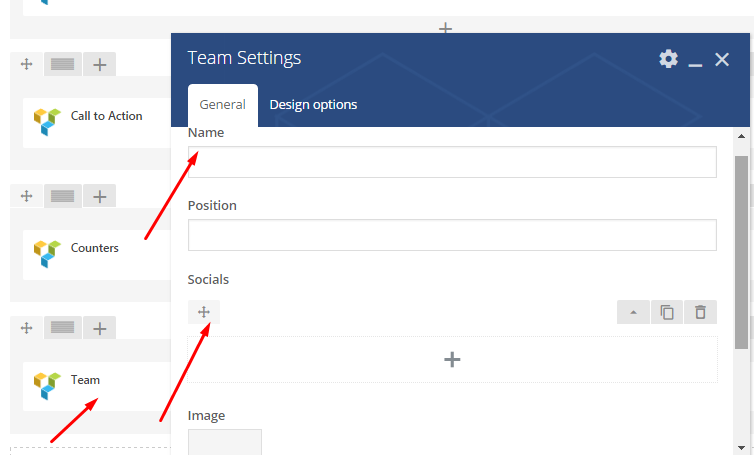
Team shortcode

Add the Name, Position, Socials fields and add the icon:
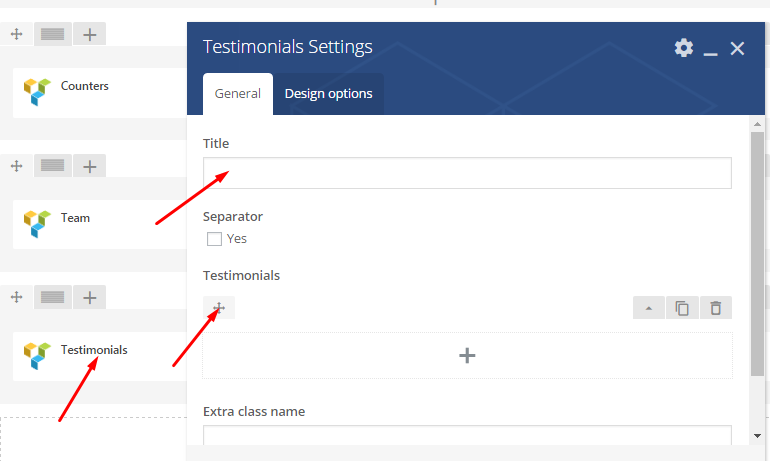
Testimonials
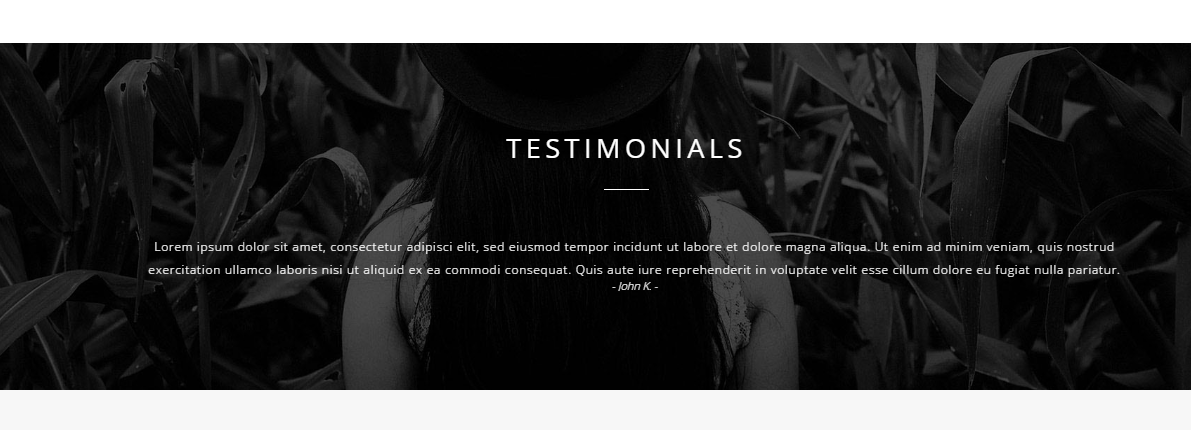
In the settings Title and Testimonials fields are expected to be written in. In case you would like to add dividing line, check Separator option:
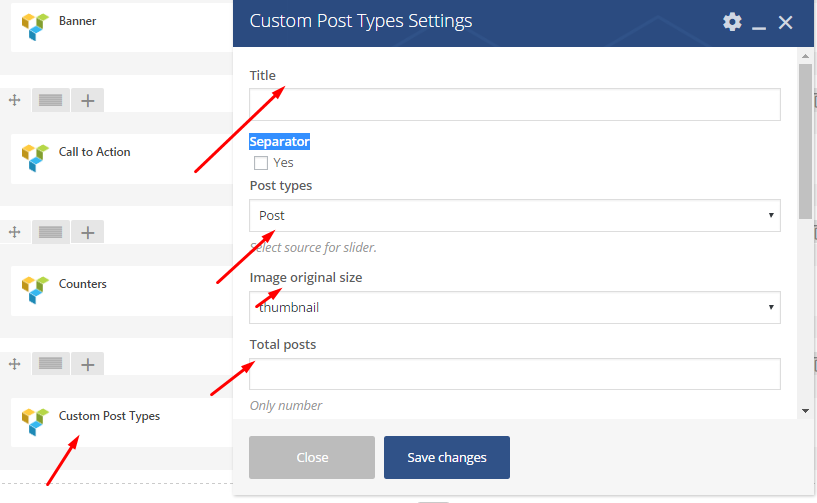
Custom Post Types
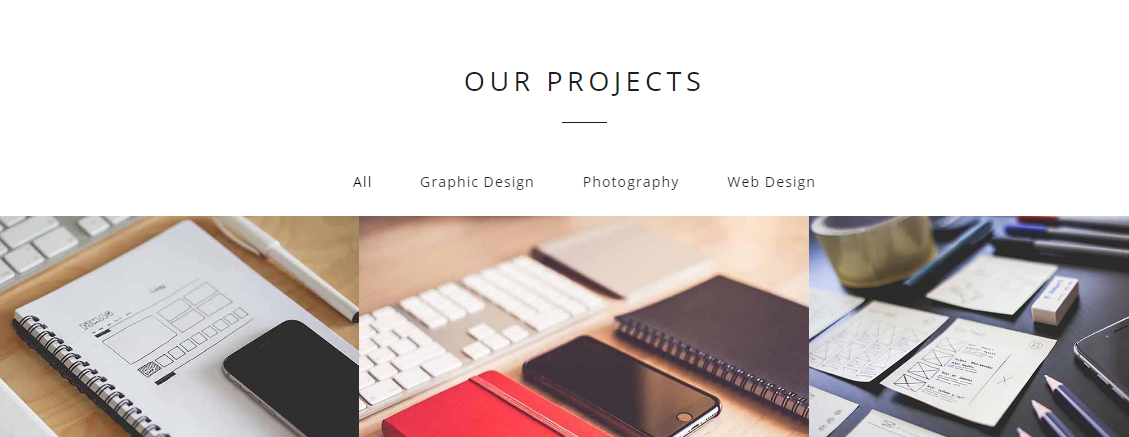
The following options should be chosen from the proposed list: Post Types, Image size, Order by, Sort order, Select category and Filter. You will have to fill in Title and Total Posts fields:
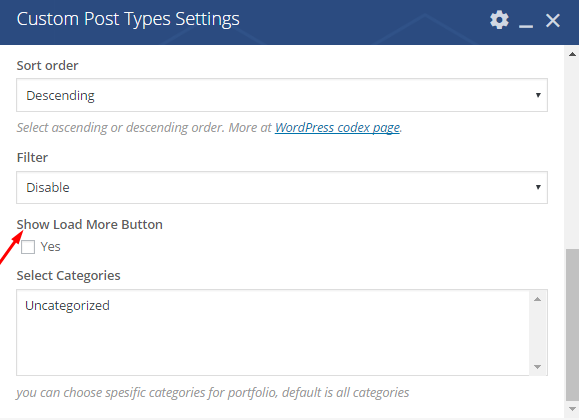
If you would like to have a button showing more posts, use "Load more button":
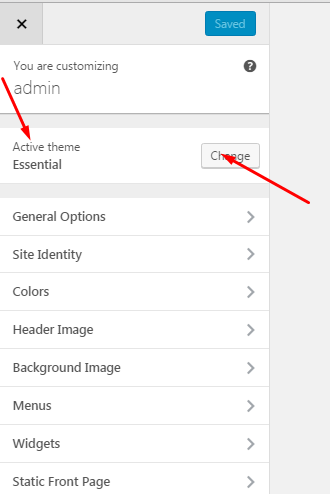
Customize
Active theme > Change button is used when you need to change or update your Theme:
In General options there is an option - Import Demo Data - which was already used when uploading the Theme:
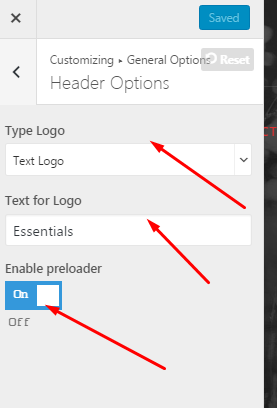
In Header options logotype can be changed. You can also add or switch off preloader here:
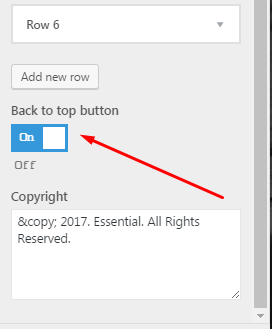
In Footer options you can add social links, copyright information and change logo text:

If you would like to add back to top option to the page choose the following button:
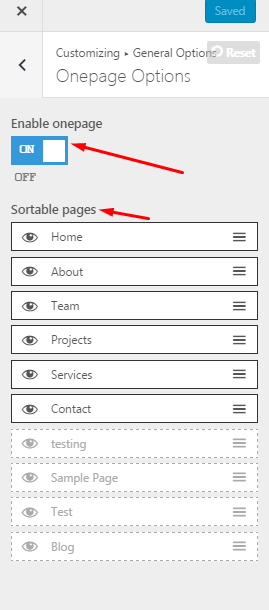
If you choose Onepage option, all the pages will be displayed on the screen as a one page. You will have to sort the order in which these pages should be generated:
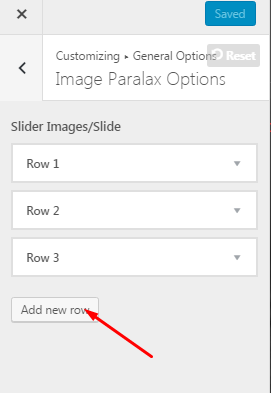
All the images which are supposed to have Parallax effect should be added in Image Parallax Options:
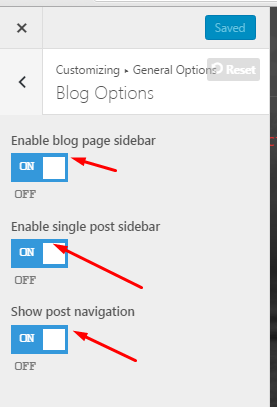
Blog and Post pages include sidebar, which can be added or removed in Blog options:
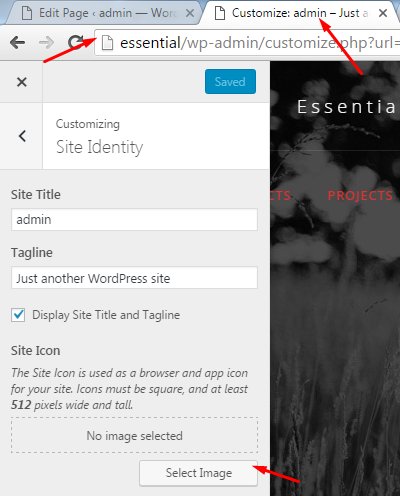
Site title and tagline should be written in Site identity option. Site icon can be uploaded here as well:
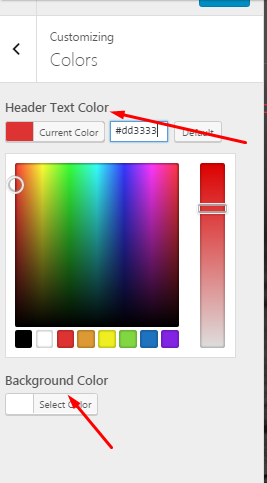
Background and header text color can be changed here:
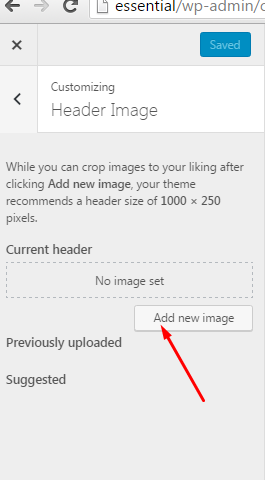
An image of the header can be uploaded with the help of "Add new image" button in Header image option:
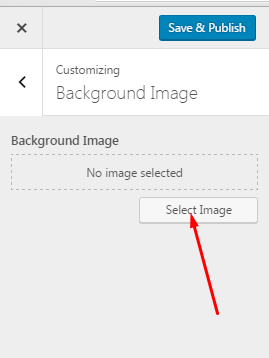
Background image of the page can be added in the Background image option:
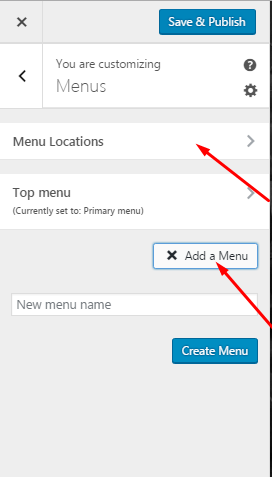
In Menus options you can change Menu locations and add a new one:
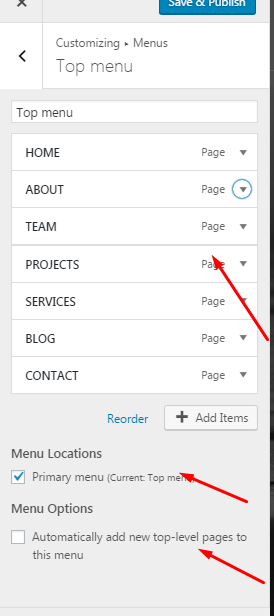
In this option you can edit pages which should be placed in Menu:
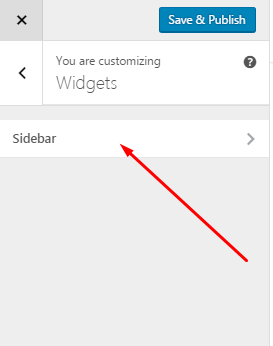
Blog and Post pages include sidebar (Widgets), which can be added or removed in Widgets:
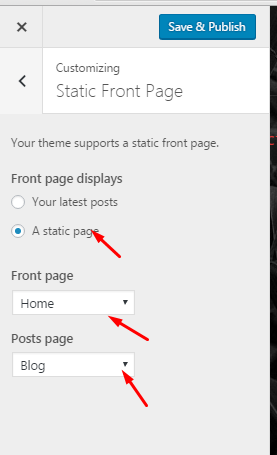
Post and Front pages can be changed in Static Front Page option: